Working with Search Results
Once you’ve entered your search criteria and clicked the Search button, the system displays the search results.
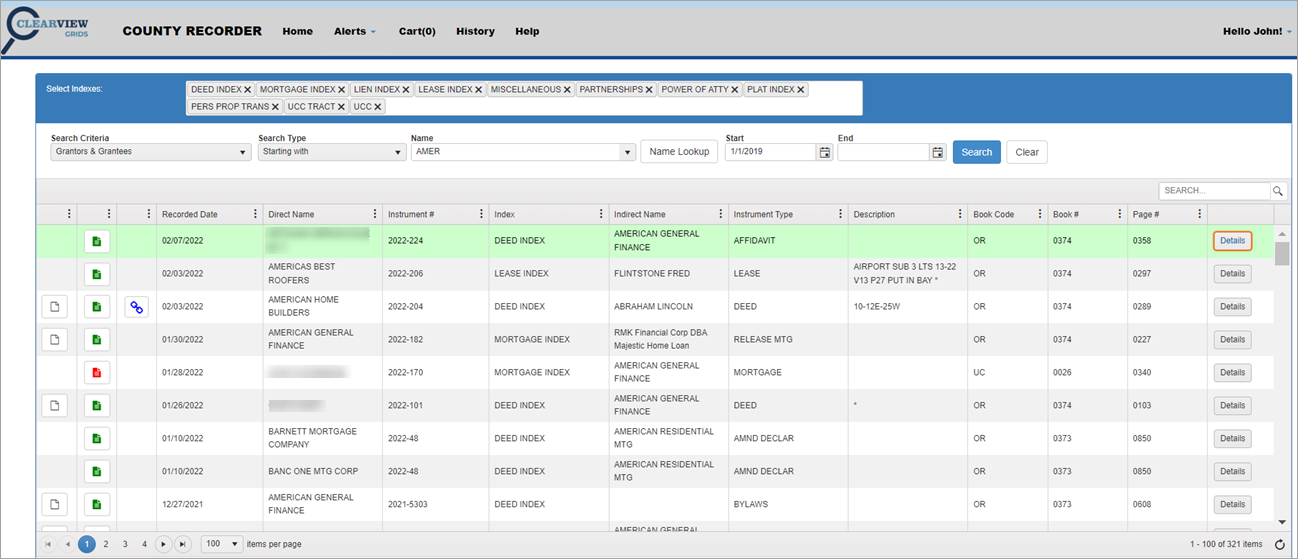
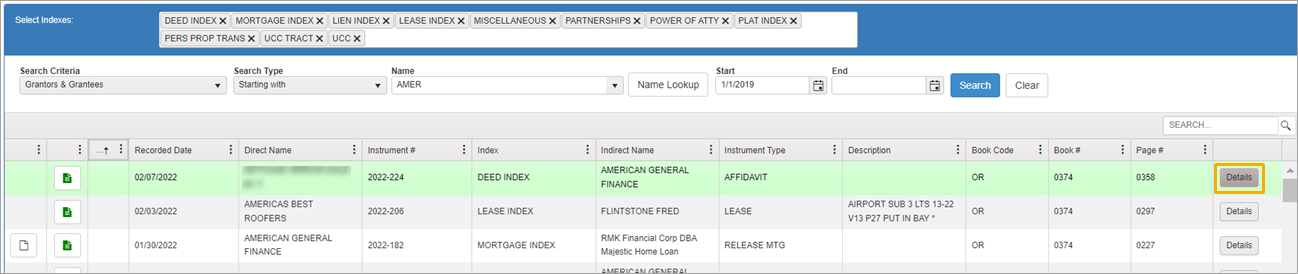
NOTE: Green rows indicate documents you have already viewed. When conducting a name search, it may bring up more than one row with the same instrument number. If you view details on one instrument number, all instances of that document will be highlighted in green so you will know you have looked at them all.
Search Results Features
Within search results, you can use the following features:
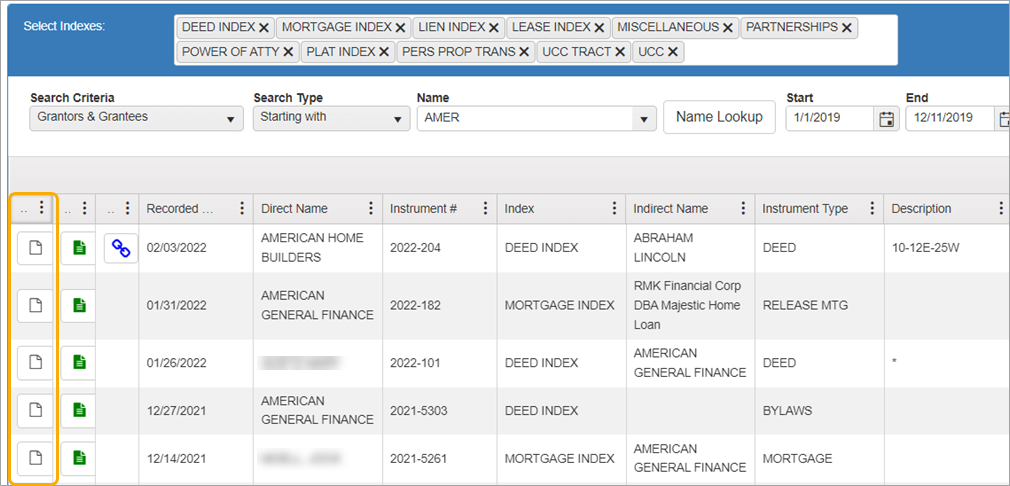
You can home in on part of a name, date, or number. So in the example above, we searched on “Amer” and got 321 items. We also know that the target document includes “Banc” in the name so we can enter that in the Results Search Bar. It will instantly run the search looking for those characters.
Now we only have five documents to look through.
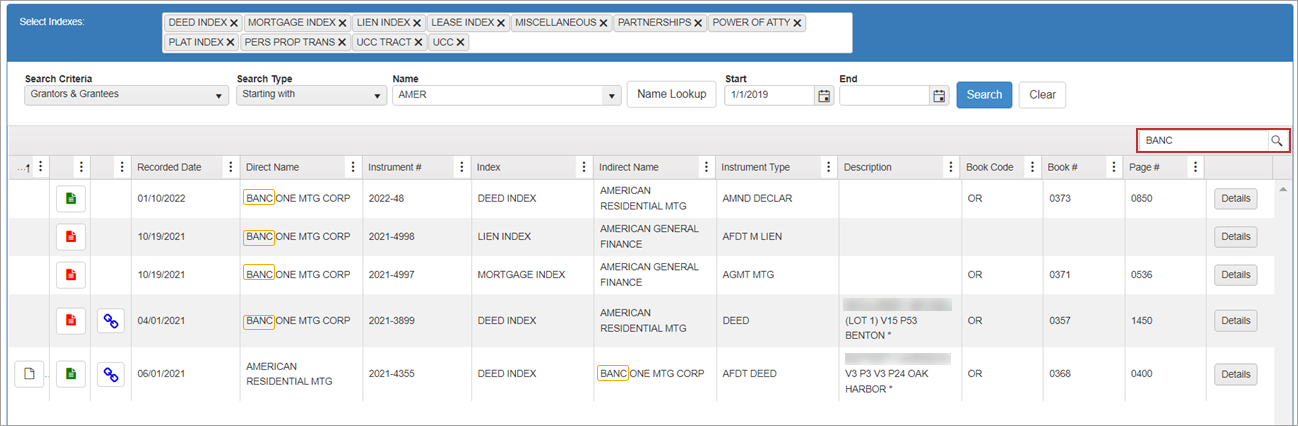
The characters you enter in the Results Search Bar will be compared to all fields within your search parameters so it is very useful if you have limited information to search with.
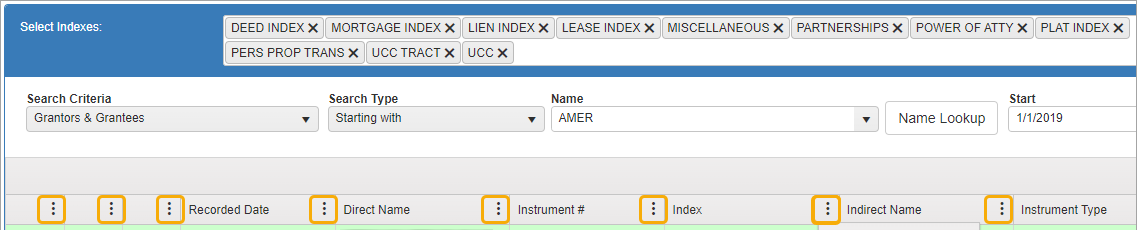
The Edit Column Heading icons appear as three vertical dots in each column heading. You can use them to refine your search results.
Columns
Select or unselect the Column options to eliminate unnecessary columns and focus on exactly what you want to view.
You can:
-
Eliminate any of the preselected columns
-
Add a column to your search results

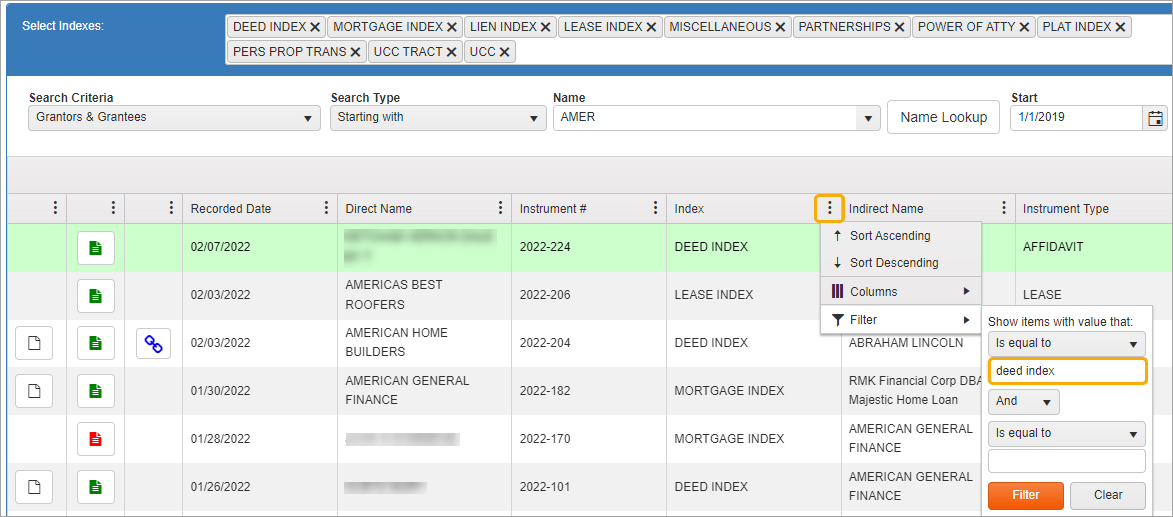
Filter
Use the Filter option to limit search results in any of the main columns. For example, in the Index column, you could focus on a particular type of document by entering “deed index” under “is equal to.”
Many types of search strings can be constructed using the Filter option.
NOTE: Certain search criteria, such as Subdivision or Address, will only return results if that information has been indexed.
Document Icons
The first three columns only contain the Edit Column Heading icons. These columns are used to display icons that apply to the document in that row.

You can sort the documents in your Search Results by setting the Column Heading icon to focus on one or more of the document icons.
If you are focusing on items with related documents, you can apply “Sort Descending” in the third column.
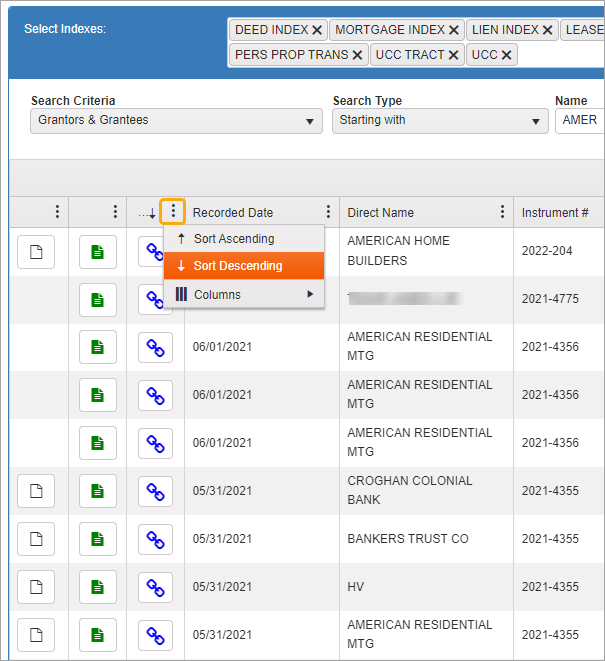
If you only want to see documents with images, you would click on the Edit Column Heading icon in the first column and select “Sort Descending.”
Document icons provide a quick status on images, indexing, and related documents. Hovering over an icon triggers a tooltip indicating its function.
See the table below for more information about each icon.
| Icon | Tooltip | Description |

|
|
|

|
|
|

|
|
|

|

|
|
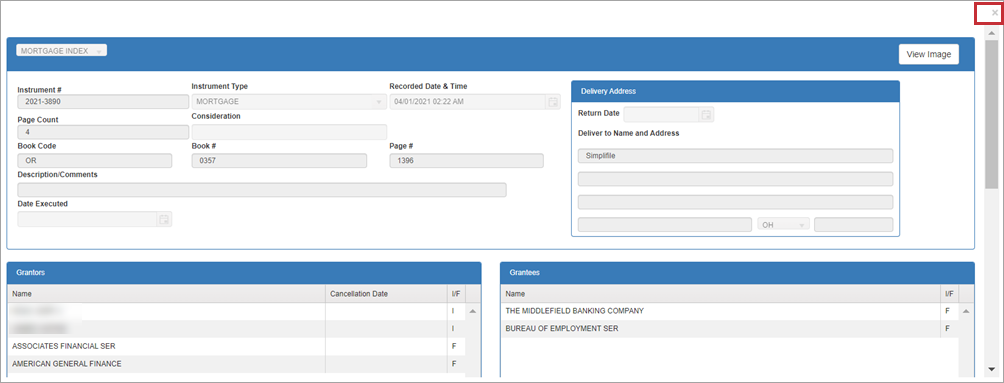
NOTE: Clicking the red or green View Index icons brings up a preview window where you can review the details. Close the window by clicking the “x.”
The View Related Document icon will be displayed in the third column of the search results if there are any related documents for the item in that row.
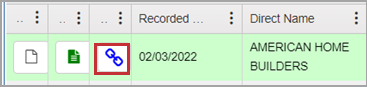
Clicking it launches the Related Instruments window which displays a list of all the related documents.
Click the View button to see the information.

The details are displayed.
Close the window by clicking the “x.”

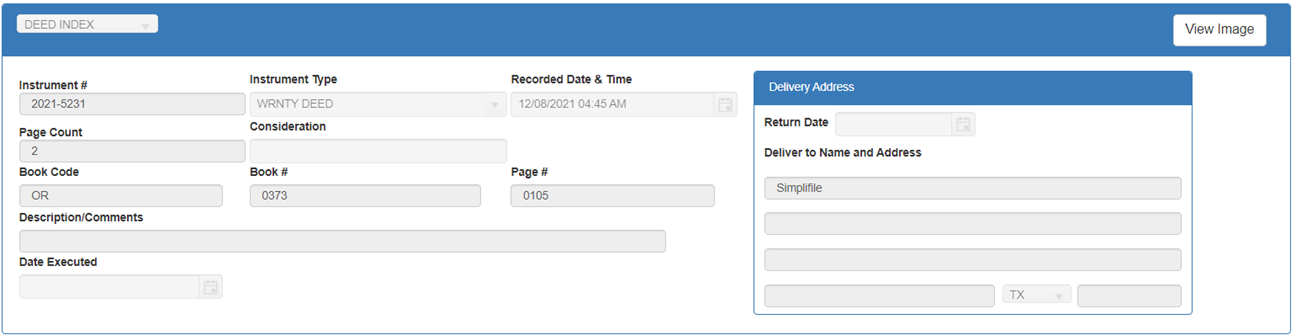
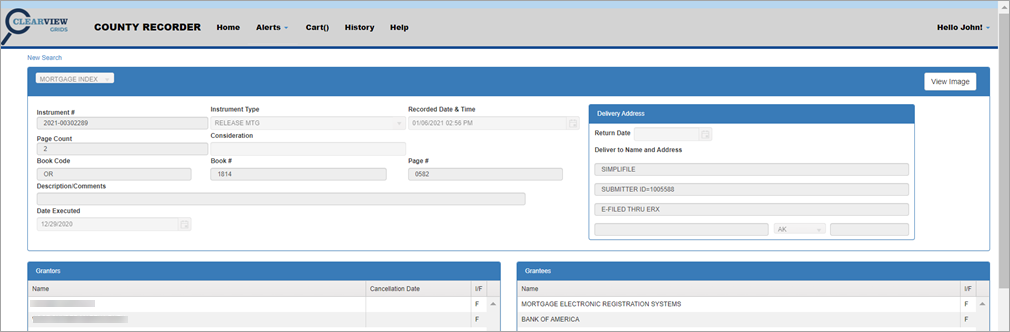
Click the Details button on the right to view the indexed information.
The document information opens in a new browser window.
For viewing images, see Using the Document Viewer to View and Print Documents.
Recommended Workflow
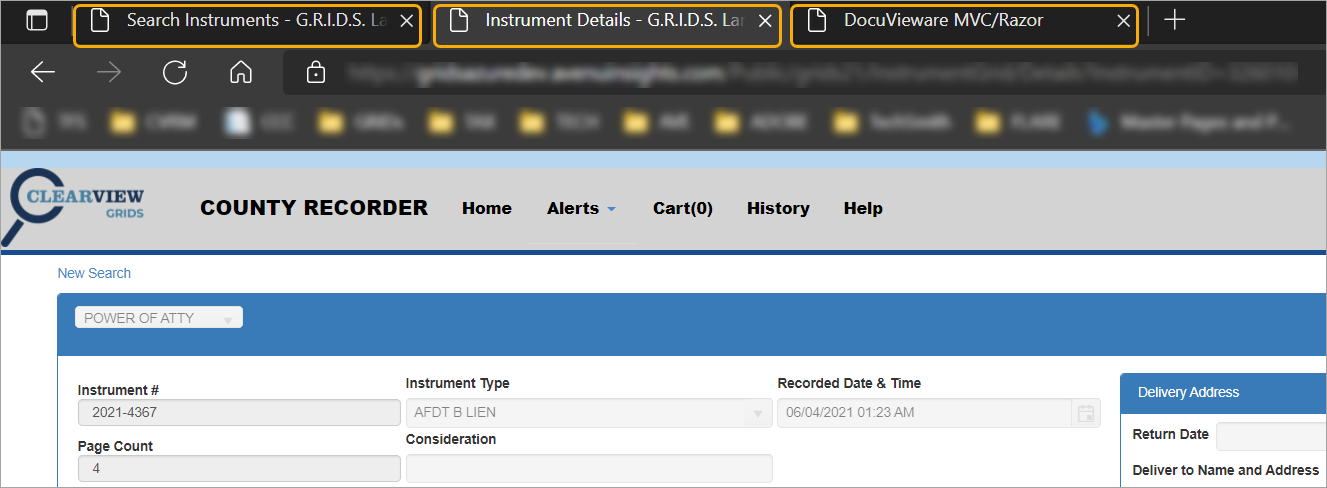
If you have several documents to work with, you can leave the Instrument Details browser window open and simplify your review process as follows:
-
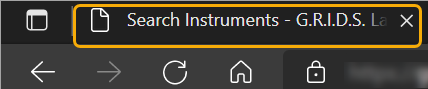
Click the Search Instruments tab to return to the search results.
-
Click the Details button for the next document to review.

-
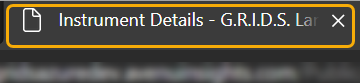
Click back on the Instrument Details tab--the new document’s details will now be displayed.
Switch from one tab to the other as you work through the selected documents.
The DocuVieware tab displaying the image can also remain open and will update whenever you select a new document.
To work with the document viewer and print copies, see Using the Document Viewer.